User Guide
3D Scratchpad
Editing 3D Models
Toolbar Buttons
3D Scratchpad features the following buttons in the toolbar at the top of the screen:

 Back — Return to the Document Browser. Subscription is required to save and share modified 3D Scratchpad documents.
 Undo — Undo the most recent change.
 Redo — Redo the most recent change.
 Settings — App Settings such as Units, Show Axes, and AR Object Occlusion.
 Share — Share your models as .usdz files, viewable by built-in apps such as Safari, Messages, Mail, News, and Notes using Quick-Look.
 Add Shape — Add a new Shape.
Object/AR Control
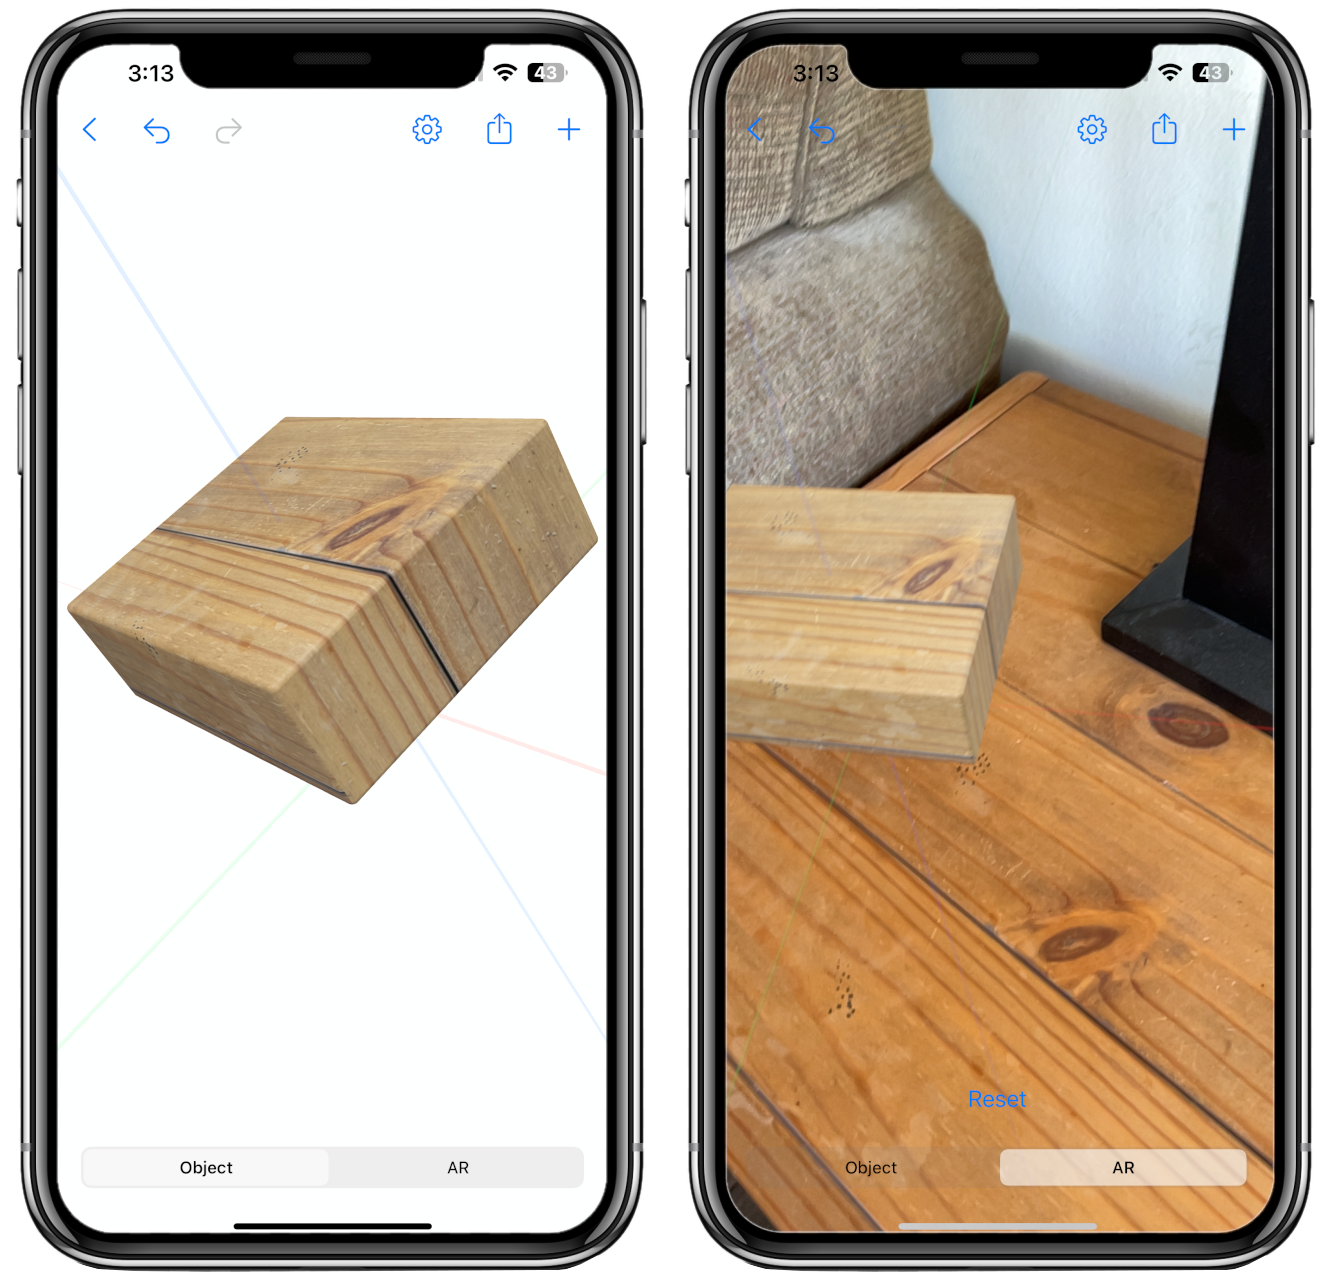
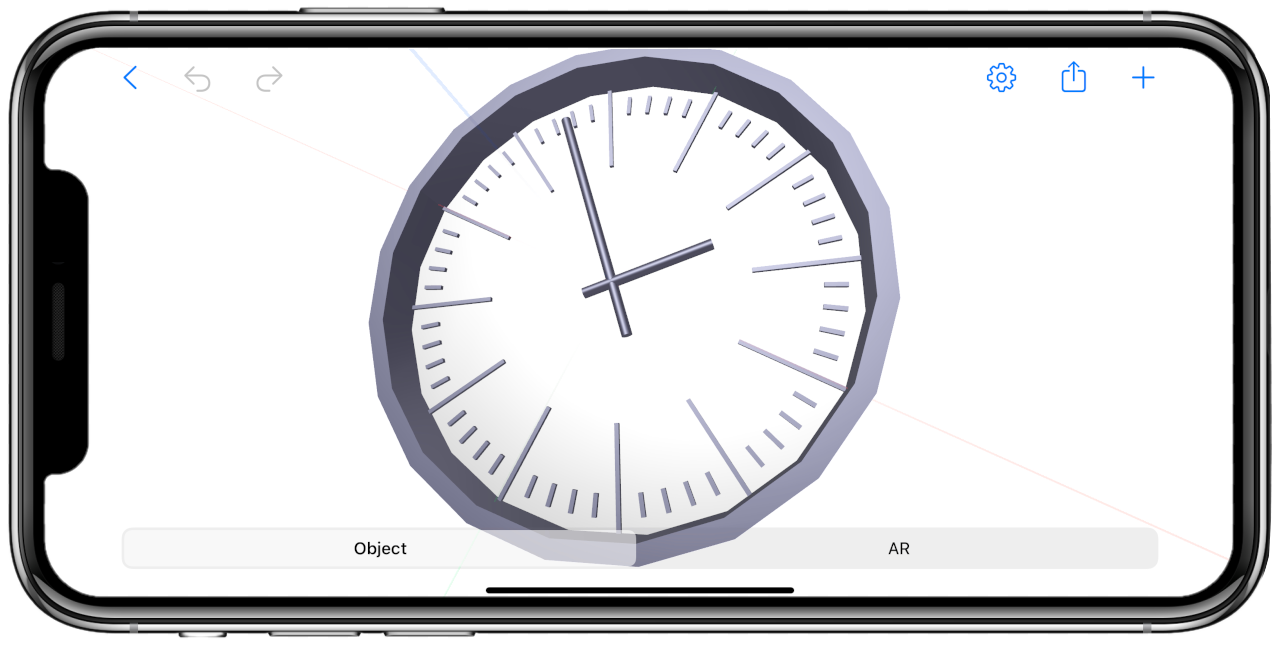
The Object/AR Control at the bottom of the screen toggles the view between Object Mode and AR Mode:

Object Mode uses a vitual 3D space to view and manipulate the shapes in your model. A dark or light background is displayed based upon the current Dark Mode setting on your device.
AR Mode uses your device camera and motion sensing capabilities to display your model superimposed over video from the camera as if the objects in the model were placed on a horizontal or vertical plane in the real world. When activated, the app will direct you to search for a plane on which to place the model. Tap Reset to restart the search process at any time.

Use the AR Plane control in Settings
to select between Horizontal and Vertical planes.
The 3D Scratchpad viewport contains the models you create, along with X, Y, and Z Axis lines which indicate the orientation of the model and its components in space.
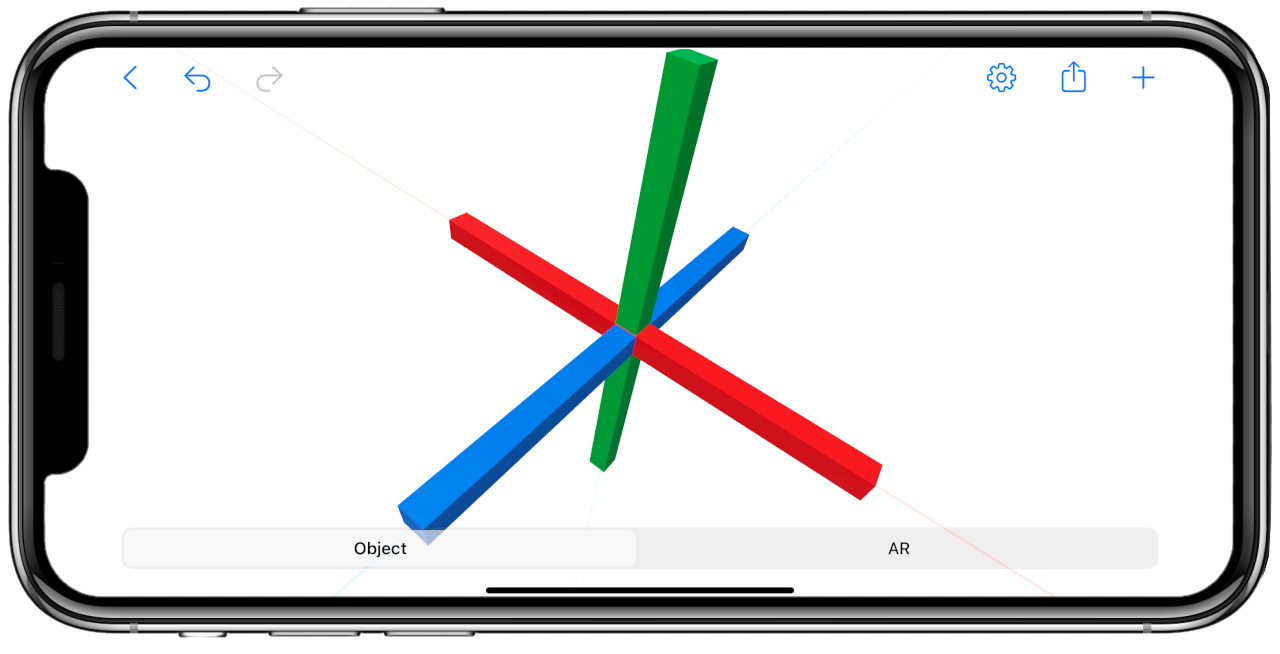
The X, Y, and Z Axes are three lines which converge at a point in space called the origin. These three lines represent: X (side-to-side, or pitch), Y (up-and-down, or yaw), and Z (into and out of the screen, or roll). The X-Axis is red, the Y-Axis is green, and the Z-Axis is blue.
Toggle display of the Axes on and off in Settings
.
Gestures
Single-tap on a shape with one finger to select it. To deselect, tap on the shape again, select another shape, or tap in an empty area.
With nothing selected, panning one finger on the screen will pan the virtual camera in Object Mode, or move the entire model in AR Mode. With a shape selected, panning one finger will move the shape.
With nothing selected, use two fingers to rotate and zoom into and out of the model. With a shape selected, use two fingers to scale and rotate the shape.
Double-tap anywhere on the screen to return the camera position and zoom level to their initial values in Object Mode. In AR Mode, this gesture returns the entire model and the X, Y, and Z Axis to their location, orientation, and scale after the most recent Reset.
In AR Mode, the motion of the selected object in space is always parallel to plane of the device screen. Orient your device in the real world in the direction you wish to move an object, then swipe on the screen. For example, to move an object vertically in AR Mode, hold your device in a vertical orientation.
Press-and-hold on the screen to display a menu with operations available depending upon the selected object:
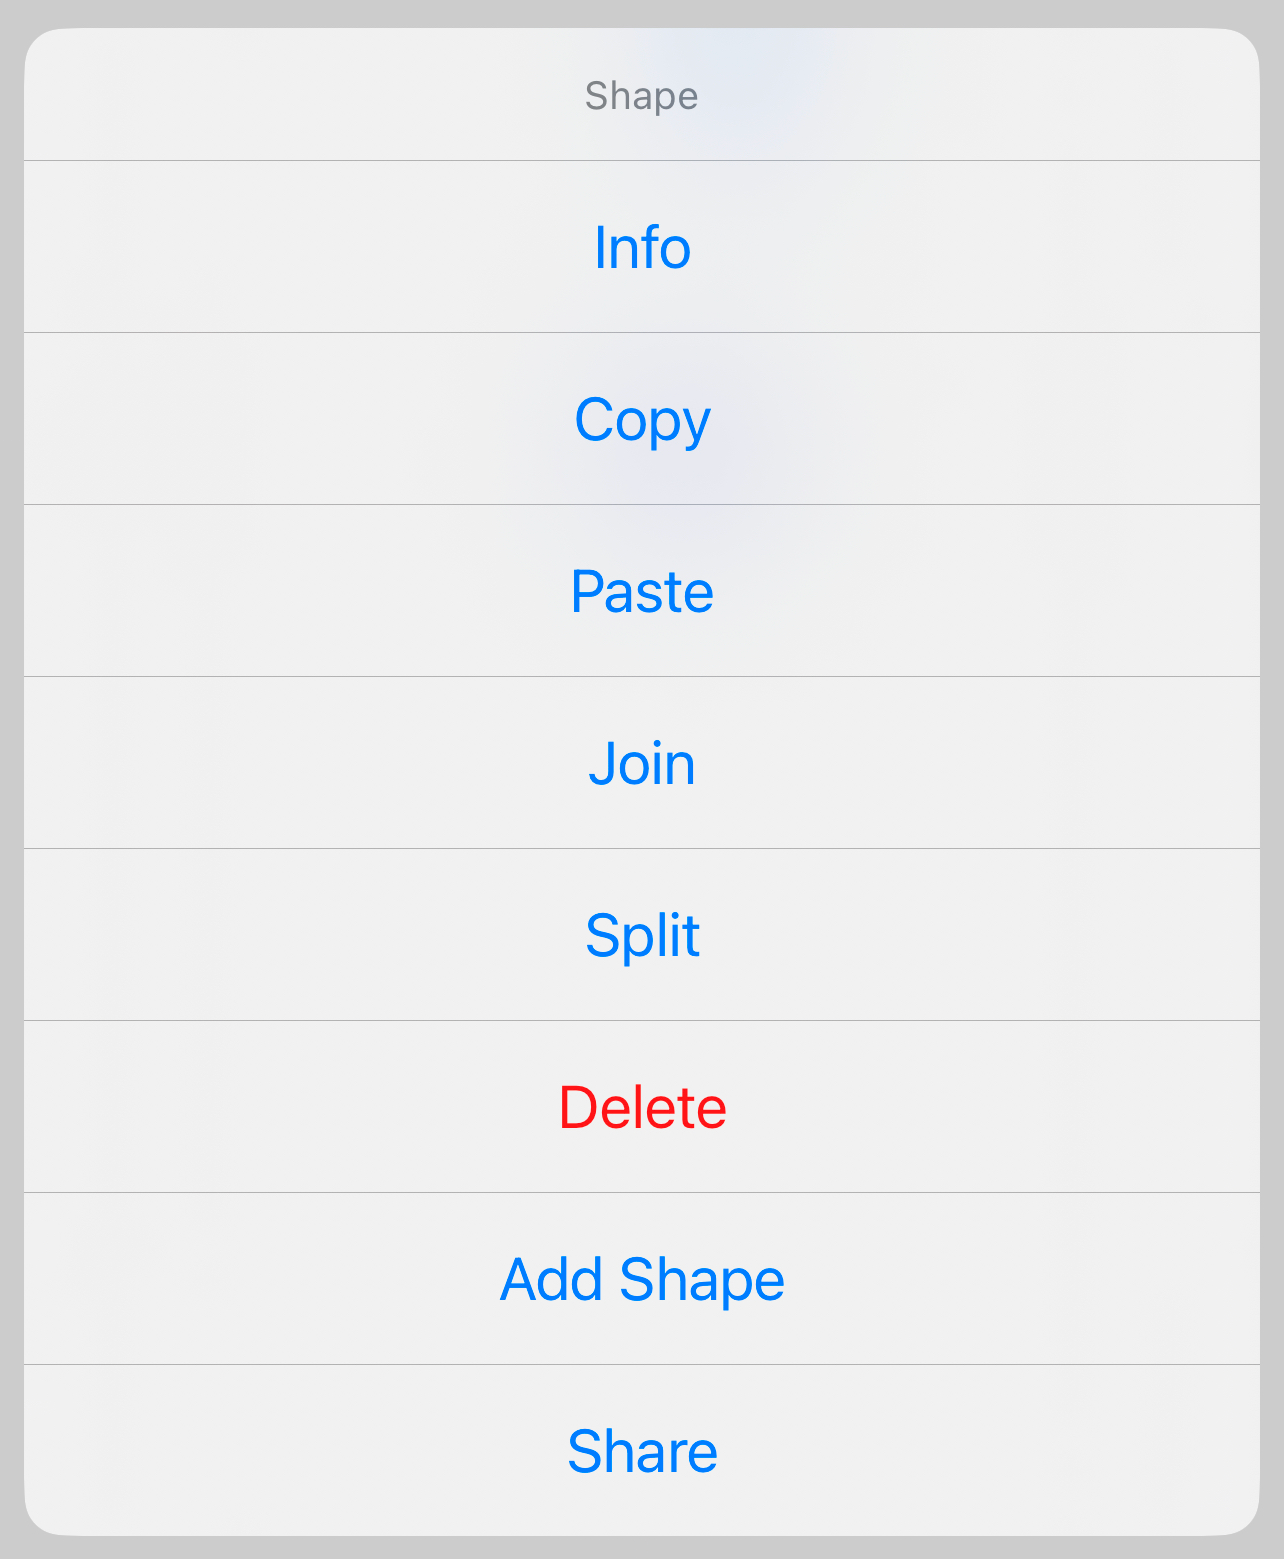
Tap Info to manually edit shape paramaters such as Name, Color or Image, Position, Rotation, and Scale.
Joining Shapes Into Groups
To join shapes into groups (and groups of groups) in order to create more sohisticated object models, select Join from the press-and-hold menu, then tap on another shape or joined group of shapes.
The new Join object will be located at the origin, and you can change its Name, Position, Rotation, and Scale.
Use the Split command to reverse this operation.

© Engineered Stuff